
Glacier Hiking in Norway: What First-Timers Need to Know
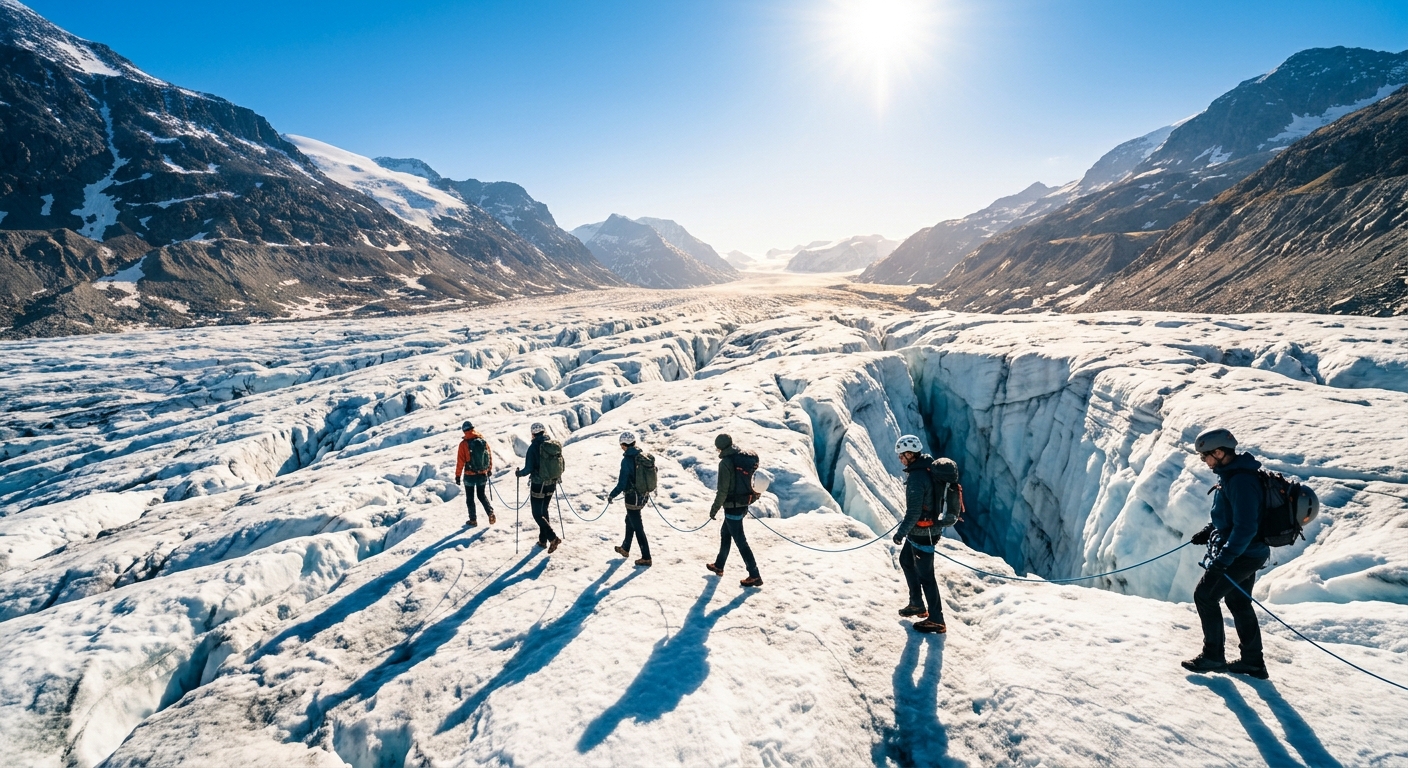
- Glacier hiking in Norway is guide-mandatory — not a suggestion. Insurers and national park regulations require it.
- Folgefonna (Hardanger) is the most accessible glacier for a first trip; Jostedalsbreen is larger and more remote.
- A standard guided full-day runs 6–7 hours including approach hike. Expect 10–15km of walking total.
- Cost: 1,000–1,400 NOK per person for a full-day guided hike, including gear. Crampons and ice axes are always provided.
- Season: mid-June through mid-September. Book 4–6 weeks ahead in July and August.
Why guide-only is actually a rule, not a recommendation
Glacier hiking in Norway is not self-guided. It's not that operators prefer you use a guide — Norwegian insurers exclude unguided glacier travel from standard trip insurance policies, and several glaciers sit inside national parks with explicit restrictions on independent access. A guide means you're covered; unguided means you're not, and rescue in remote glacier terrain is both expensive and slow.
This isn't a burden. Every operator includes gear, instruction, and safety briefing in the price. You show up; the guide takes care of everything else.
Which glacier: Folgefonna vs. Jostedalsbreen
Folgefonna, in Hardanger, is the right choice for a first glacier trip. It's accessible from multiple towns in the region, operators are plentiful, and day-trip logistics are straightforward — you don't need to relocate your base to do it.
Jostedalsbreen, mainland Europe's largest glacier by area, offers more dramatic terrain and longer routes, but it requires more logistical planning and is usually the centerpiece of a dedicated trip rather than a day-trip add-on. If you're building a multi-activity week in Hardanger, Folgefonna is the one. If glacier hiking is the primary reason for the trip, Jostedalsbreen is worth the extra planning.
What a full day on the glacier actually looks like
Most full-day glacier hikes follow a broadly similar structure. The approach from the trailhead to the glacier edge is often the steepest, most demanding stretch of the day — it's before you're on the ice, and it's where first-timers most often underestimate the physical demand.
Once on the ice, a standard tour covers roped walking, crossing crevasse fields at a pace set by the guide, and a stop at a viewpoint or distinctive ice formation. Lunch is usually at the glacier edge before the return.
The fitness question, honestly
The approach hike is the real physical test, not the glacier itself. Crampons make walking on ice manageable regardless of prior experience. The approach, which can involve 400+ meters of elevation gain on uneven ground before you reach the glacier, is where people who haven't recently walked uphill for an extended period find themselves struggling.
A reasonable test: can you comfortably walk 10–15km over broken terrain in a day? If yes, you're fit enough. If the last time you did sustained uphill walking was years ago, a few weeks of regular walks with a daypack before the trip will make the day significantly more enjoyable.
What's provided and what to bring yourself
Every credible glacier operator provides crampons, ice axes for steeper routes, harnesses for roped sections, and safety equipment. You are not expected to own any of it. What you need to bring: clothing (layered — see below), your own hiking boots (the single most important item), sunscreen and sunglasses (glacier UV exposure is strong), water and lunch.
- Hiking boots — your own, broken in. This is the one item worth getting right, because rentals rarely fit well enough for a 7-hour day
- Base layer (moisture-wicking), mid layer (fleece or light down), waterproof shell — temperature on the glacier varies significantly from the approach
- Wool or synthetic gloves — crampons are handled repeatedly and metal gets cold
- Crampons (fitted to your boots on arrival)
- Ice axe for steeper routes and technical sections
- Harness and rope for crevasse-risk zones
- Safety briefing covering how to use all of the above